How to make your own chalkboard in photoshop
(this post is being transitioned over from a previous blog- so you might have seen this before…)
I’ve been inspired to share with you the technique to make your own chalkboard.
Let me know if this helps you at all… and I’d love to see some of the results!Creating a realistic chalkboard in photoshop:
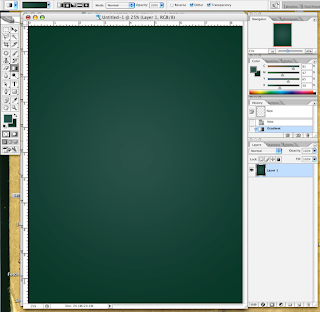
1. Create new document, 8.5×112. Create and Fill a new layer with a radial gradient. I used 2 green colors, with the lighter hue in the middle.
RGB value 8.56.40 (cmyk 87.49.79.61) light green
and 42.83.73 (cmyk 81.47.65.38) dark green
 3. Now use filter: add noise: 1.6%, uniform distribution, monochromatic.

4. Create a new layer.
5. Using your favorite grungy watercolor brush, stipple on some lighter texture areas.

6. Create a new layer.
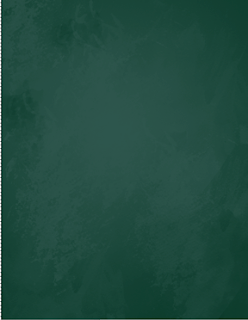
7. Using a different grungy watercolor brush, stipple on some darker texture. (Only the watercolor layer is shown)
Let me know if this helps you at all… and I’d love to see some of the results!Creating a realistic chalkboard in photoshop:
1. Create new document, 8.5×112. Create and Fill a new layer with a radial gradient. I used 2 green colors, with the lighter hue in the middle.
RGB value 8.56.40 (cmyk 87.49.79.61) light green
and 42.83.73 (cmyk 81.47.65.38) dark green
 3. Now use filter: add noise: 1.6%, uniform distribution, monochromatic.
4. Create a new layer.
5. Using your favorite grungy watercolor brush, stipple on some lighter texture areas.

6. Create a new layer.
7. Using a different grungy watercolor brush, stipple on some darker texture. (Only the watercolor layer is shown)

This looks pretty good by itself, but at this point I’m going for some realism…
8. I found an image of really scratched up steel…

and put it in a new top layer at 14% opacity… then set the layer blending option to color dodge.

You could also use a large soft brush to mask out any parts of this layer that you don’t want to be very obvious, but the image I used turned out to be pretty good.

You can play with your settings to get the best possible image for you. Enjoy!


